[Editor’s note: This article originally appeared in the August 2018 issue of Grassroots Motorsports.]
While some people are blessed with mills, lathes and other advanced tools, sometimes the basics are all it takes to tackle a cool fabrication project. Case in point: We recently needed to make some new anti-roll bar brackets for a Lotus 7. The trick machining equipment wasn’t …
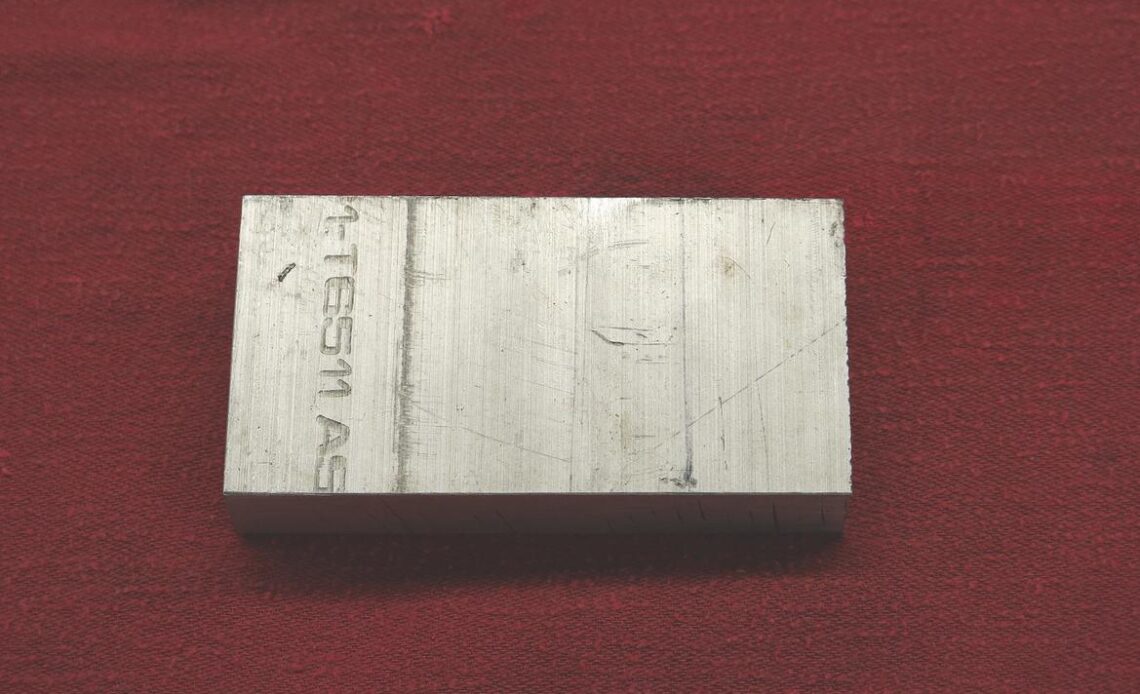
1. Our brackets started as a length of 2×3/4-inch aluminum stock. Ultimately we’d end up with two brackets, each made from two 1/2-inch-long pieces. Since that would require about 2 inches of material, plus the width of the saw cuts, we started with a 5-inch piece of stock. That extra length would also give us something to secure to the workbench.
2. We needed two 5/16-inch holes spaced 11/8 inches apart, so we drilled them on our trusty drill press. We went about 21/2 inches deep so our holes would go all the way through. By drilling these holes first, we knew that all of our bracket pieces would have identical hole spacing.
3, 4. While those 5/16-inch holes would be used to mount the brackets to the chassis, each bracket would also need a 1/2-inch hole for the anti-roll bar itself. After scribing a line in the right spot, we marked the hole’s location with a center punch.
5. We went back to the drill press to drill the hole for the anti-roll bar. We usually start with a pilot hole and then work our way up to the final size. In this case, we drilled our pilot hole with a 7/16-inch countersink drill bit. Countersink drill bits have a 1/8-inch starter that accurately establishes the center; then the bit steps to a larger size. Trained machinists always give us a hard time for using these bits like this, but we’ve found that this method accurately locates our holes. Plus the bits last a long time if we take good care of them.
6. After drilling our 7/16-inch hole, we followed with a 1/2-inch bit–the size needed to accommodate our anti-roll bar.
7. It’s starting to look like a finished bracket: two mounting holes plus another one for the bar.
8. Due to the anti-roll bar’s end link mounts, we couldn’t just thread the bar through our new mounts. We needed to split the bracket into two halves so it could clamp the bar. While a hacksaw or cutoff wheel mounted on a grinder would have worked, our horizontal band saw quickly and…
Click Here to Read the Full Original Article at Grassroots Motorsports Online Articles…

