What do you do when you have to wire a car from scratch? Panic? Not so fast. Some methodical work plus proven techniques can easily deliver success. Yes, you can do this.
Our latest project, a vintage Formula Vee single-seater, needed a new harness, and premade replacements aren’t available. We had two choices: Buy a universal kit from companies like Ron …
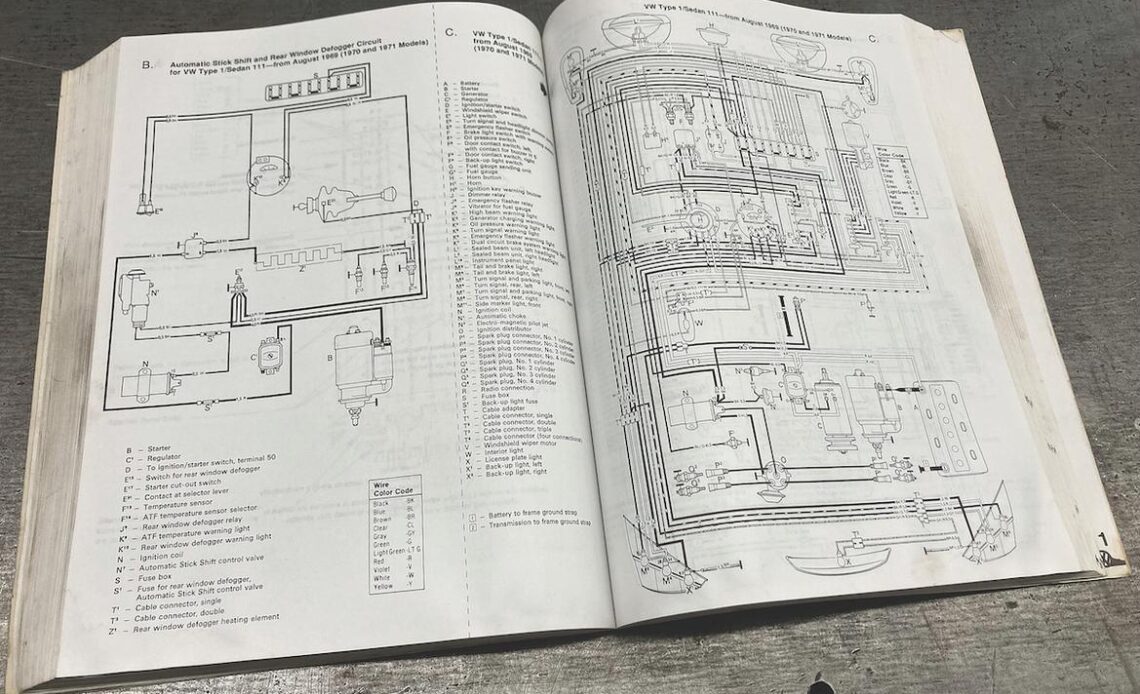
1. We started rewiring our Formula Vee race car by pulling out our old-school VW manual to find a wiring diagram for a 1970 VW Beetle. There are images of these diagrams all over the internet as well, but if you go that route, make sure it’s from a reliable source since many are not correct.
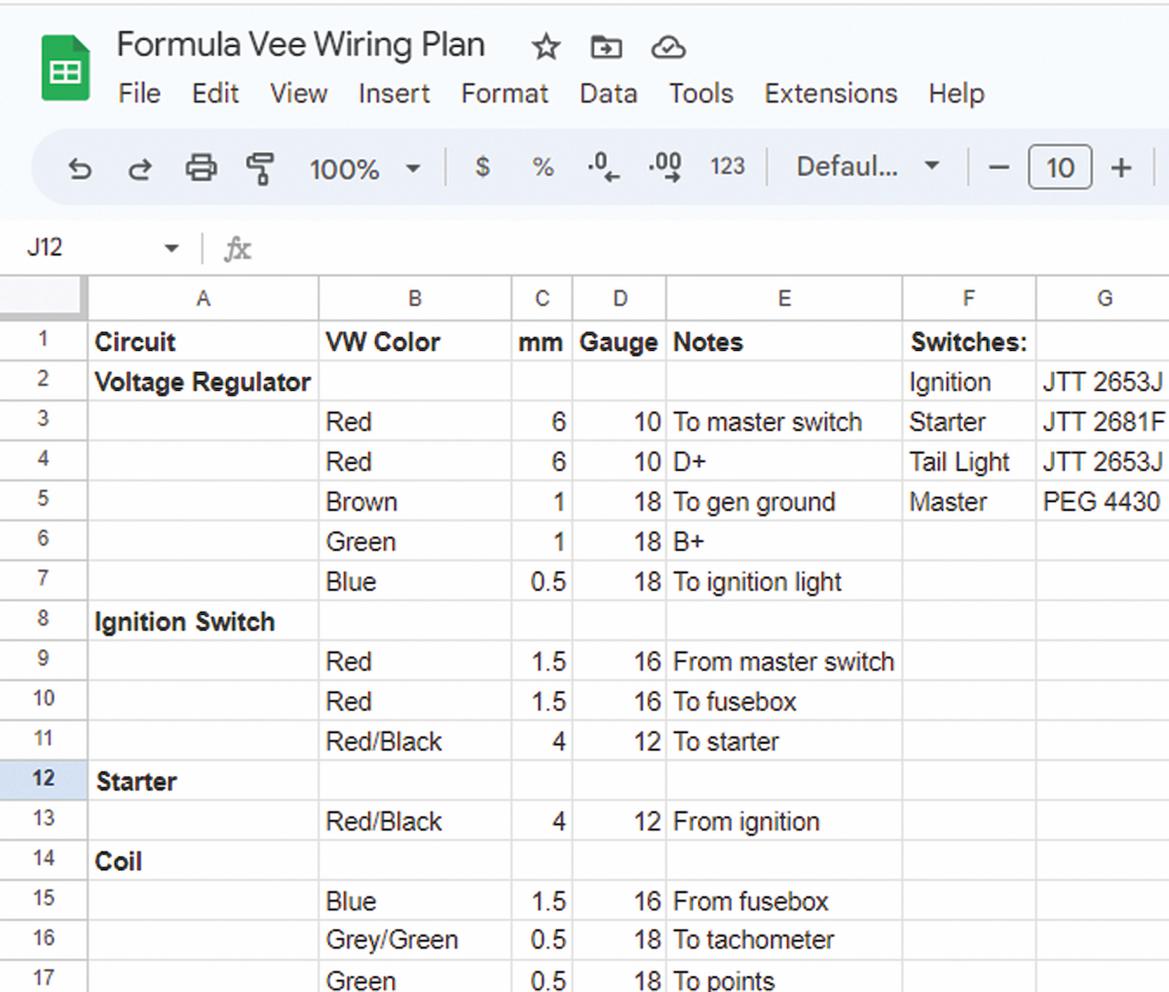
2. We built this spreadsheet to plan our harness, noting the color codes, sizes and routing of required wires. We also put part numbers of our switches and other components in the spreadsheet so we could get replacements when needed.
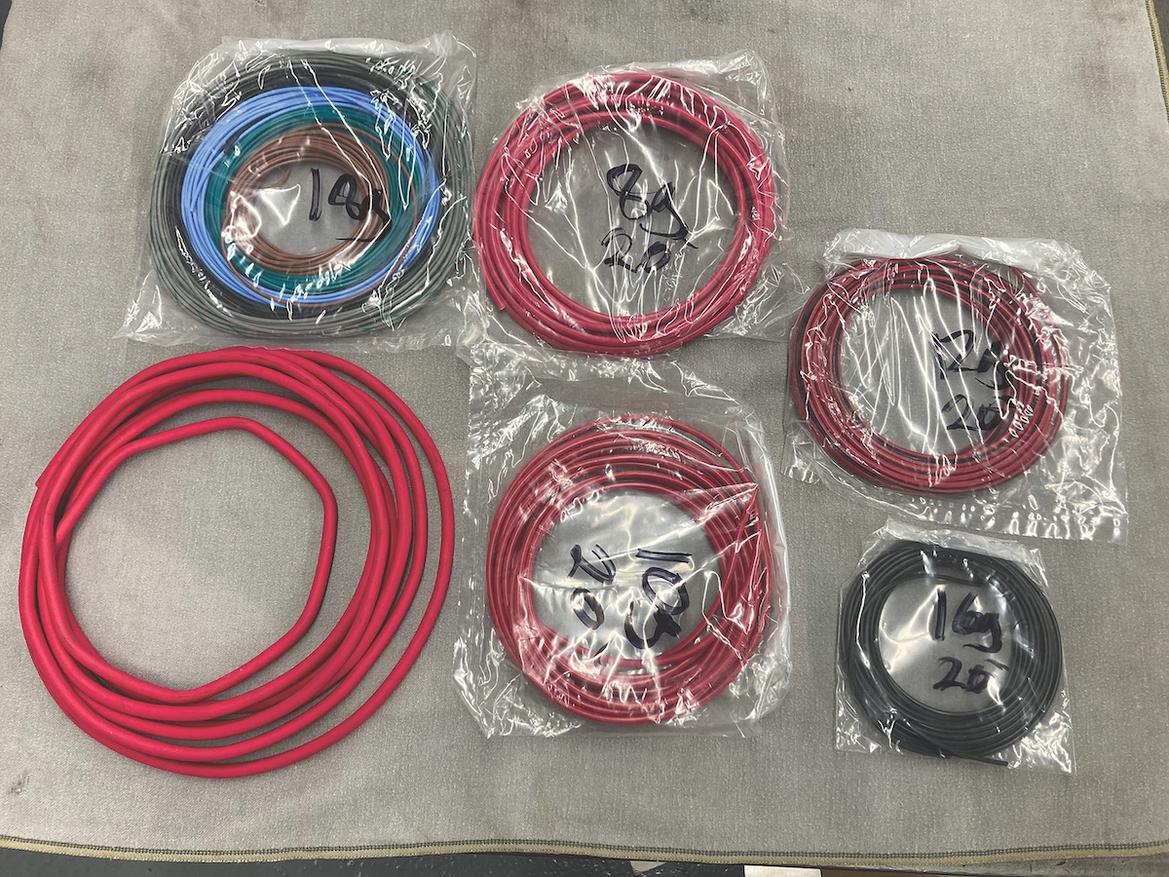
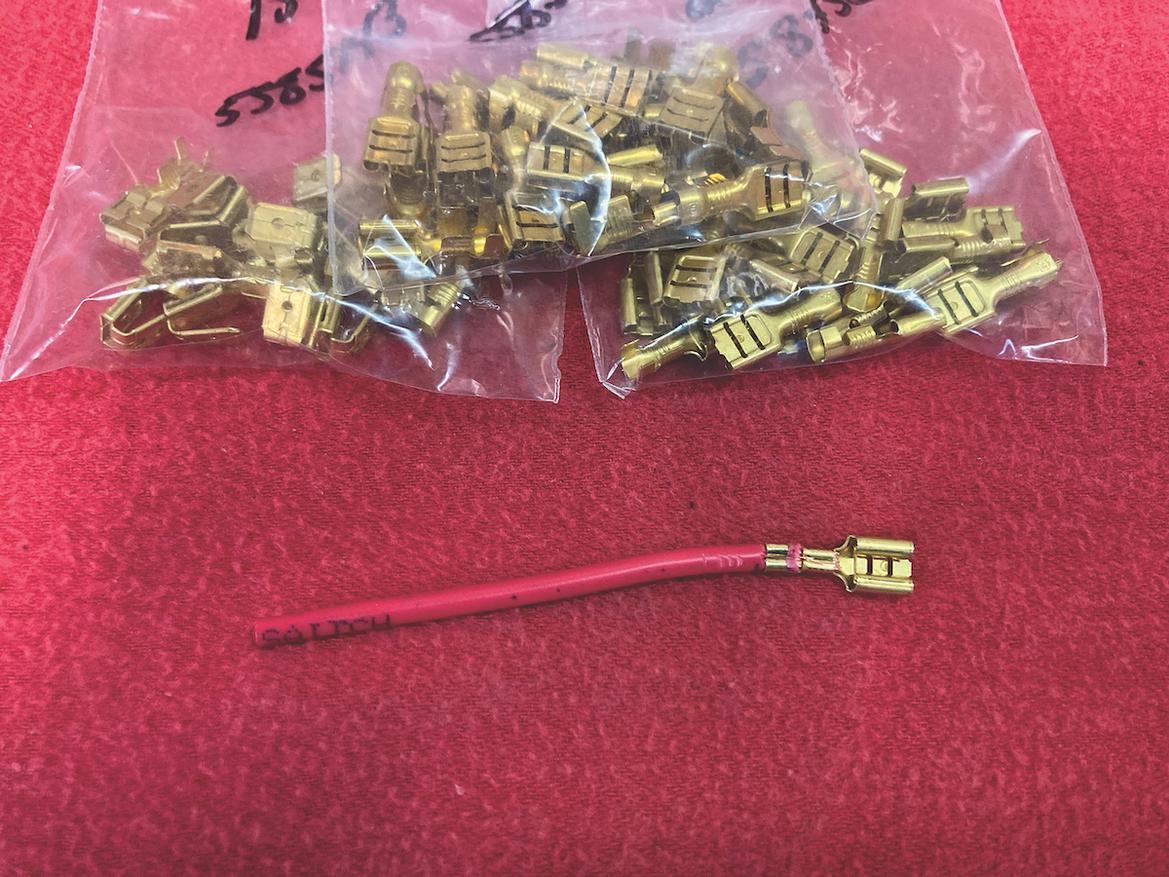
3, 4. We ordered our wire from Rhode Island Wiring Service and our German-style terminals from Goodspeed Motoring. (We’ll have a lot more details about wiring and terminal choices in an upcoming story, so stay tuned.)
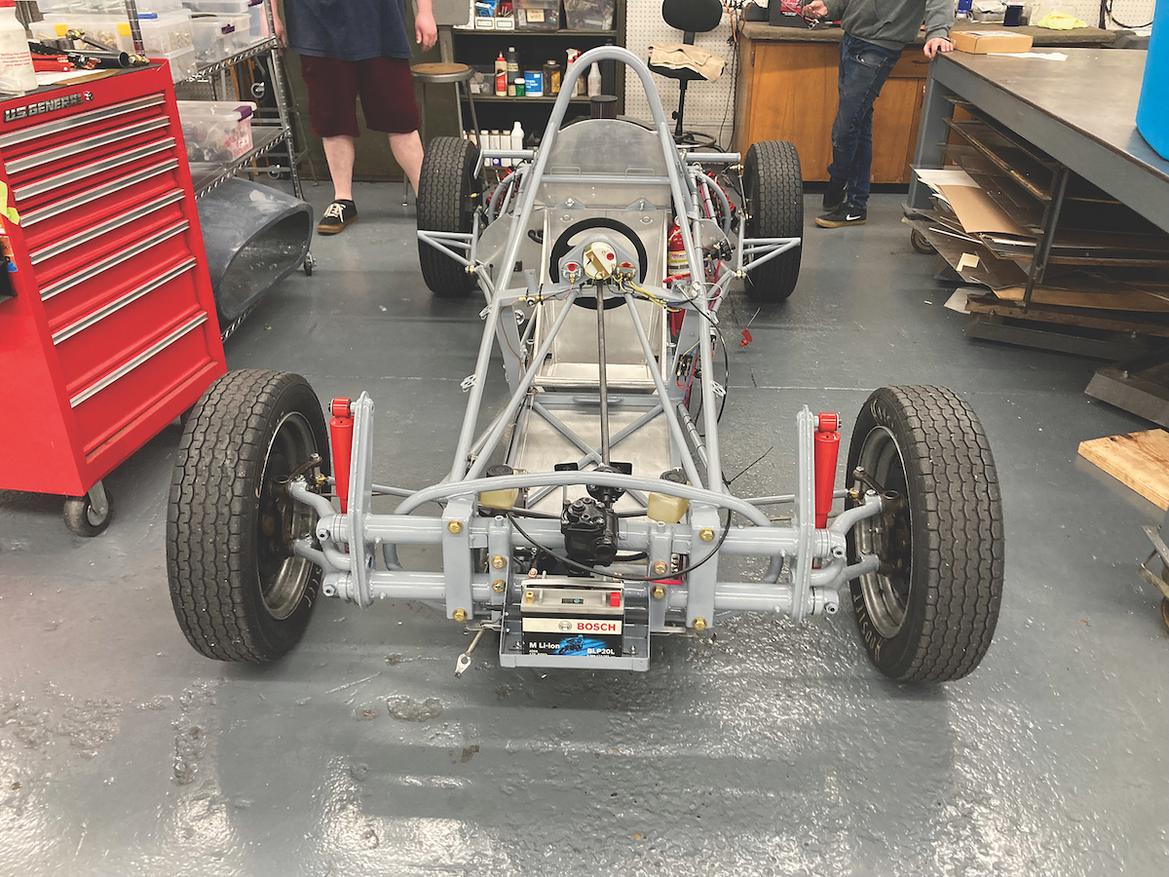
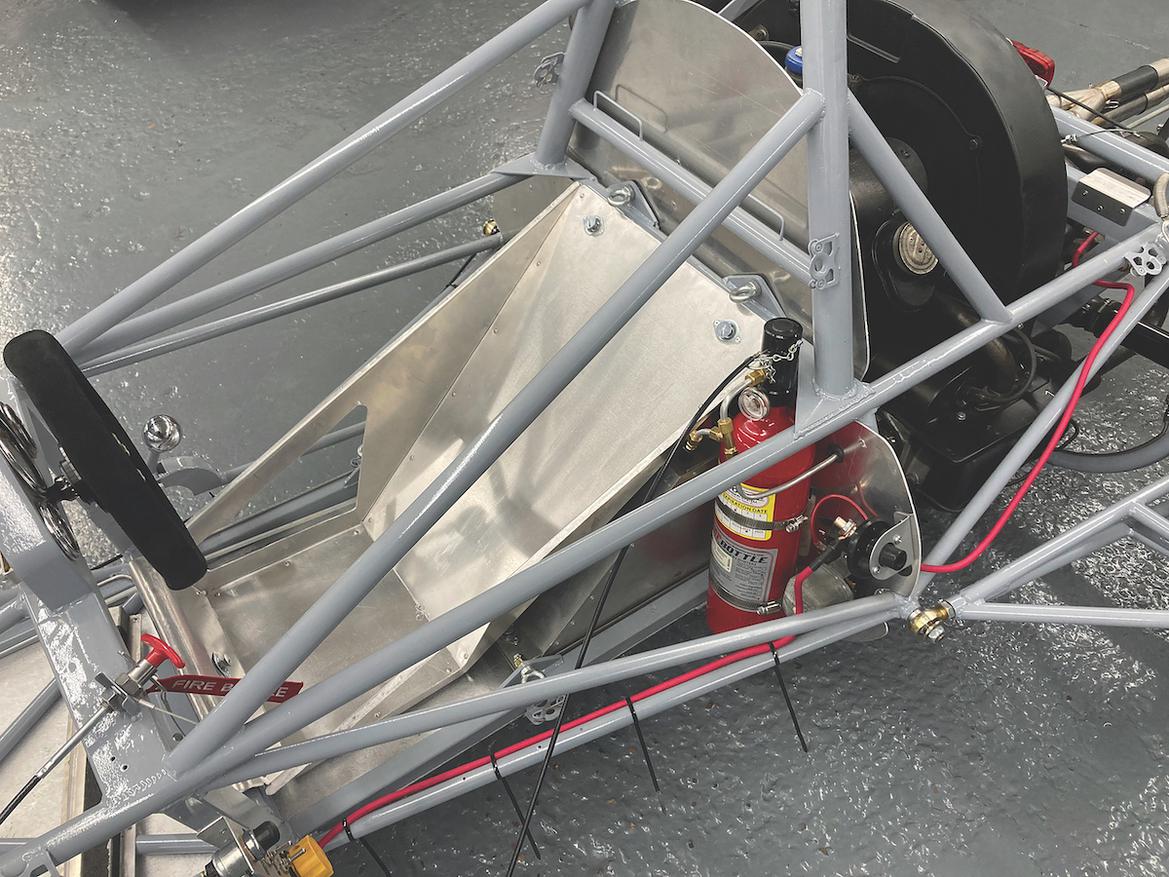
5. We then installed our major components in the chassis, including the battery, voltage regulator, switch panel and more.
6. We started running wire with the largest one first. In this case, it’s the 2-gauge master battery wire.
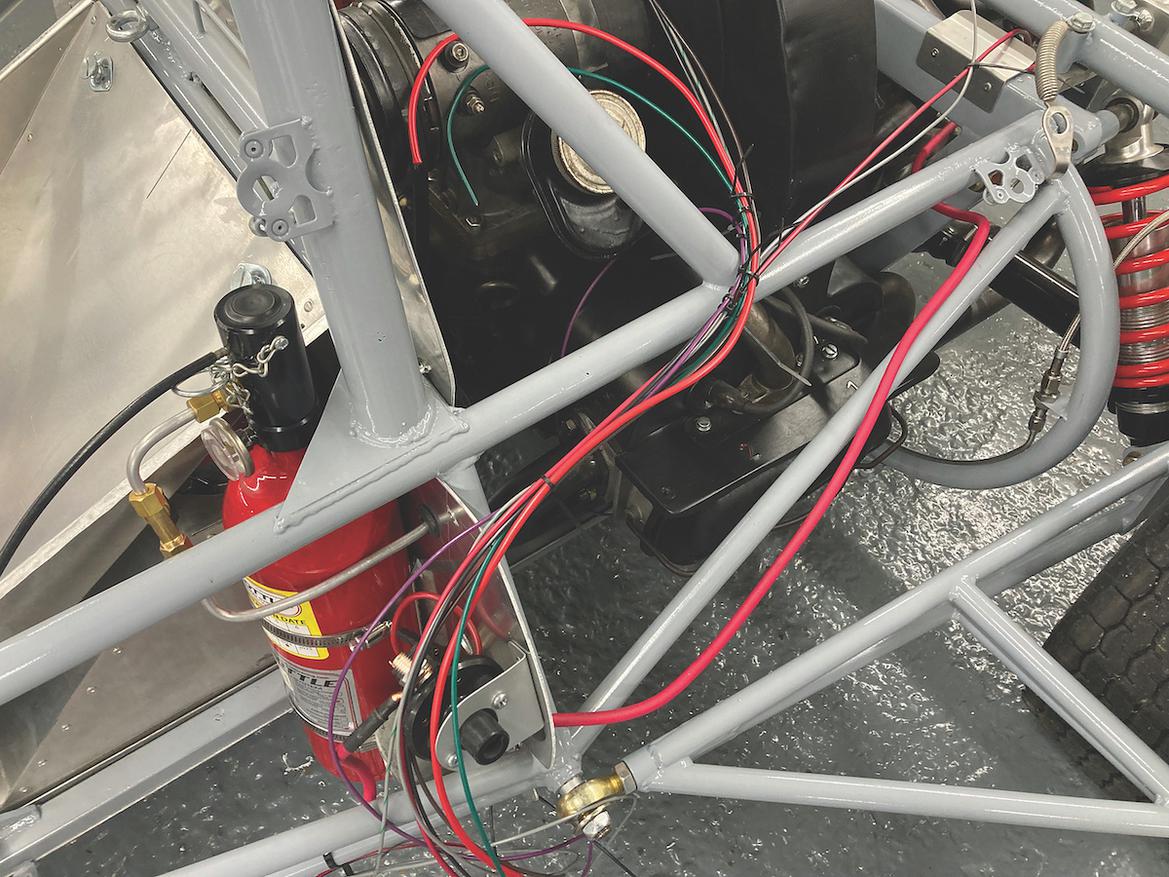
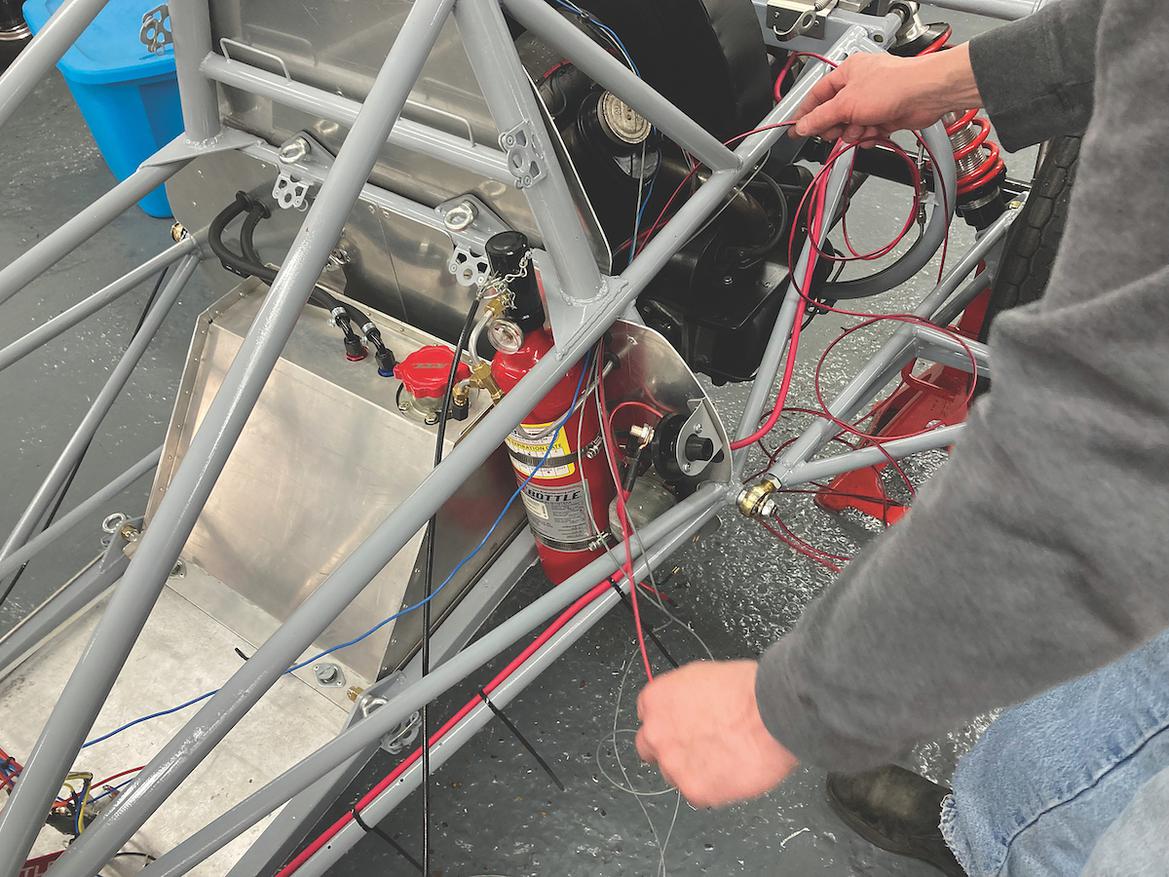
7. We then started roughing the wires to and from the major components, starting at the starter in back.
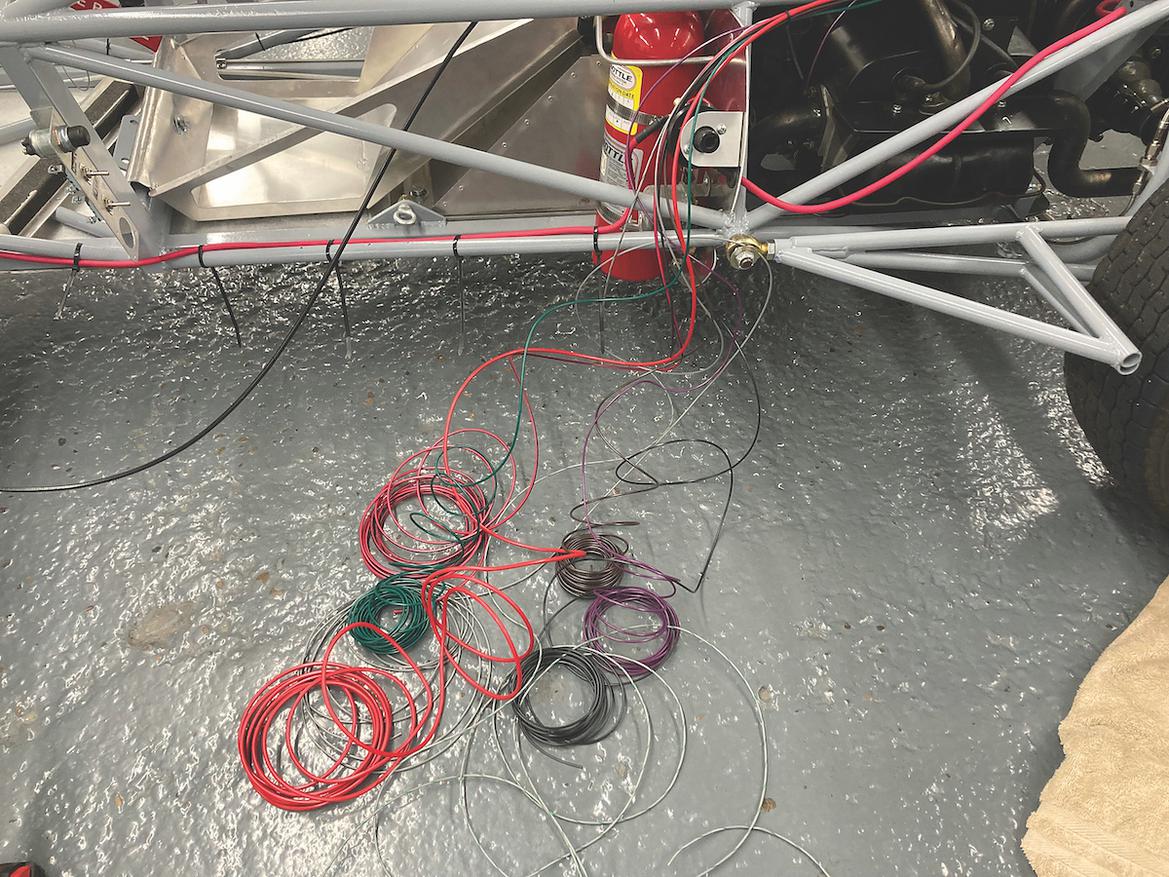
8. By the time we got to the middle of the car, we had quite a mess on our hands.
9. So we started to neaten up the rough wiring in the back of the car and routed it through its final locations.
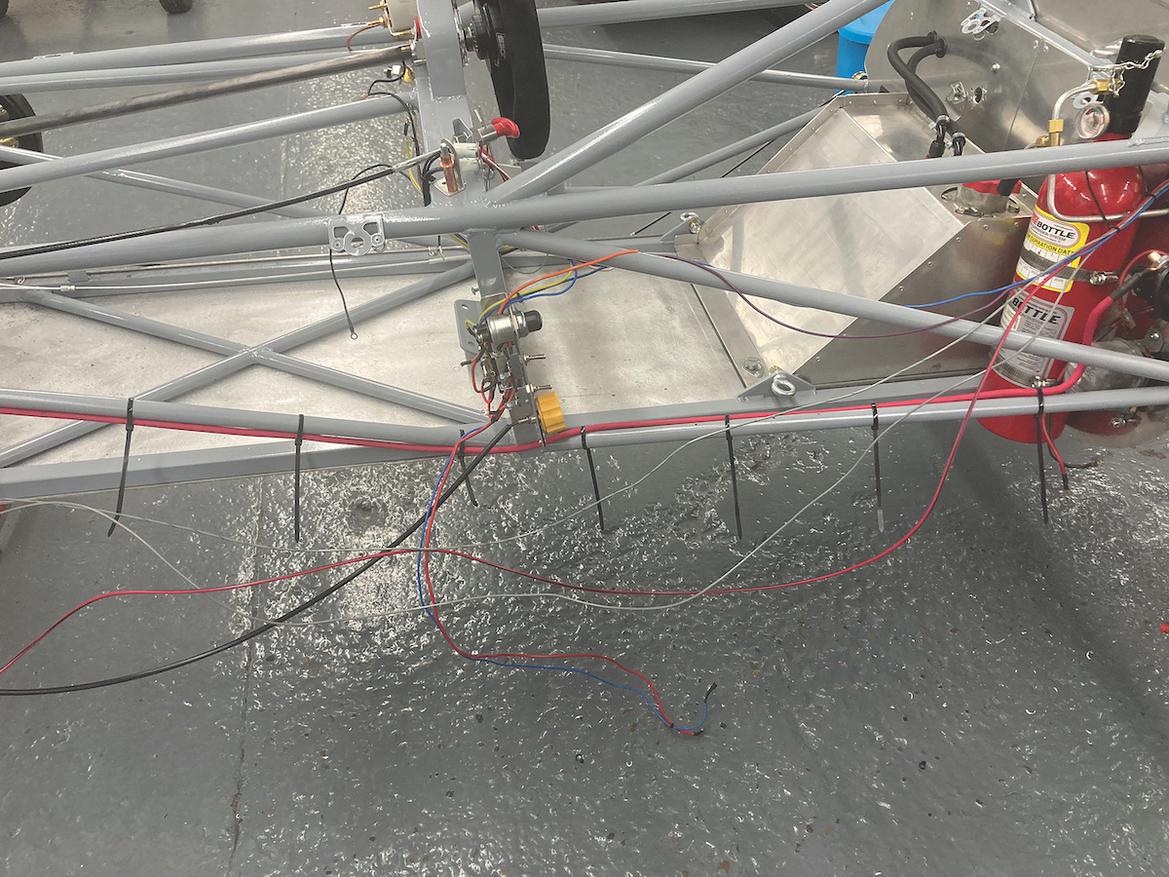
10, 11. We then repeated the process for the midsection of the car by roughing it out, neatening it and routing it.
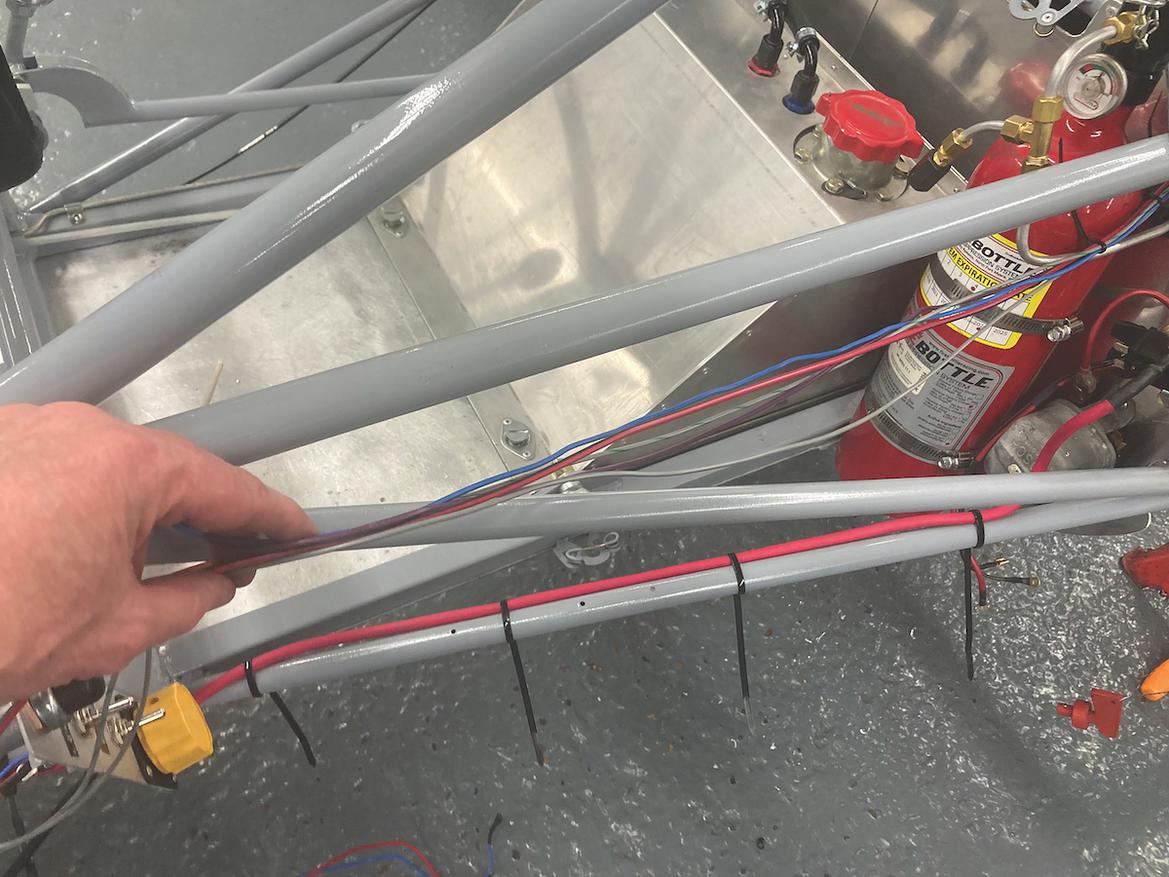
12. There’s a lot going on in this picture as we performed one more neatening process. First, we were extremely fussy and made sure that the wires are routed parallel to each other in the harness and don’t cross each other. Note that we didn’t tape the harness or use other wraps unless harsh conditions would dictate extra protection. Zip ties keep the harness bundled neatly. Not only is this approach attractive, but it makes future diagnostics and repairs significantly easier.
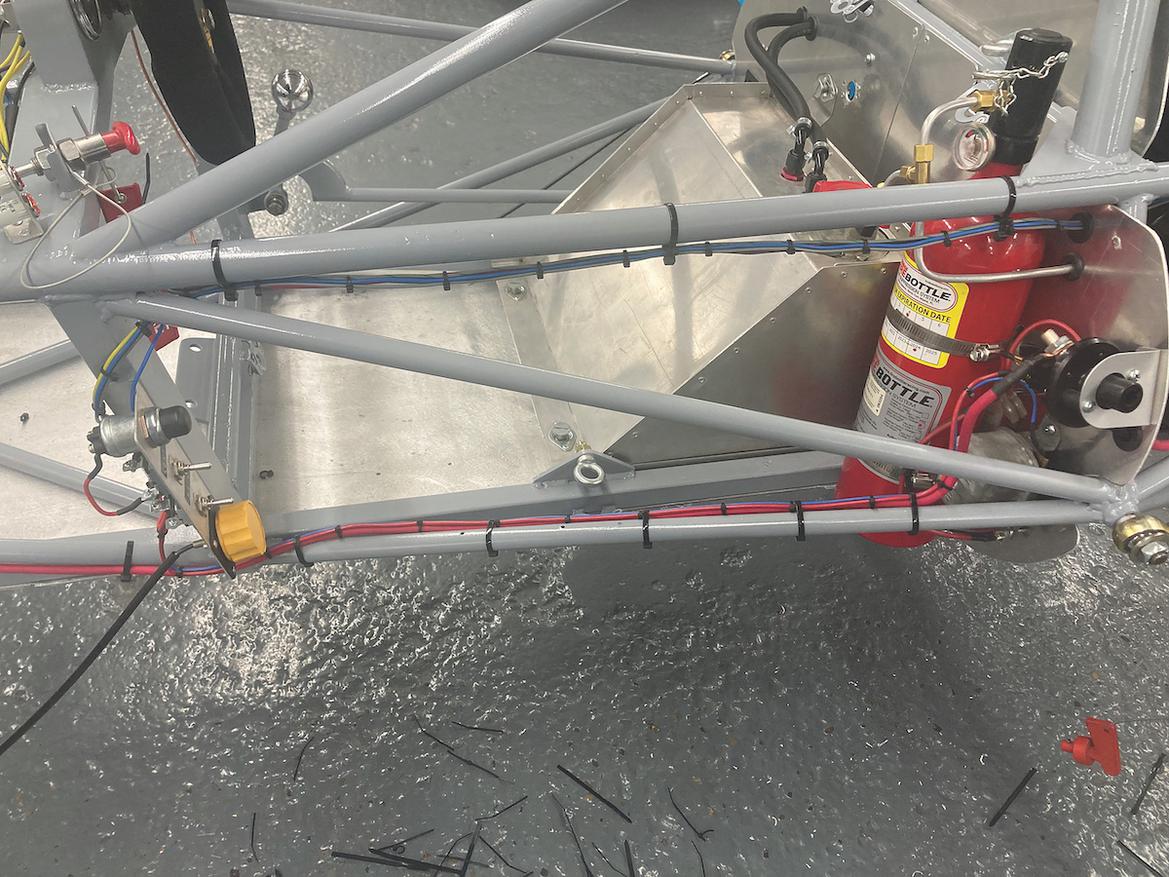
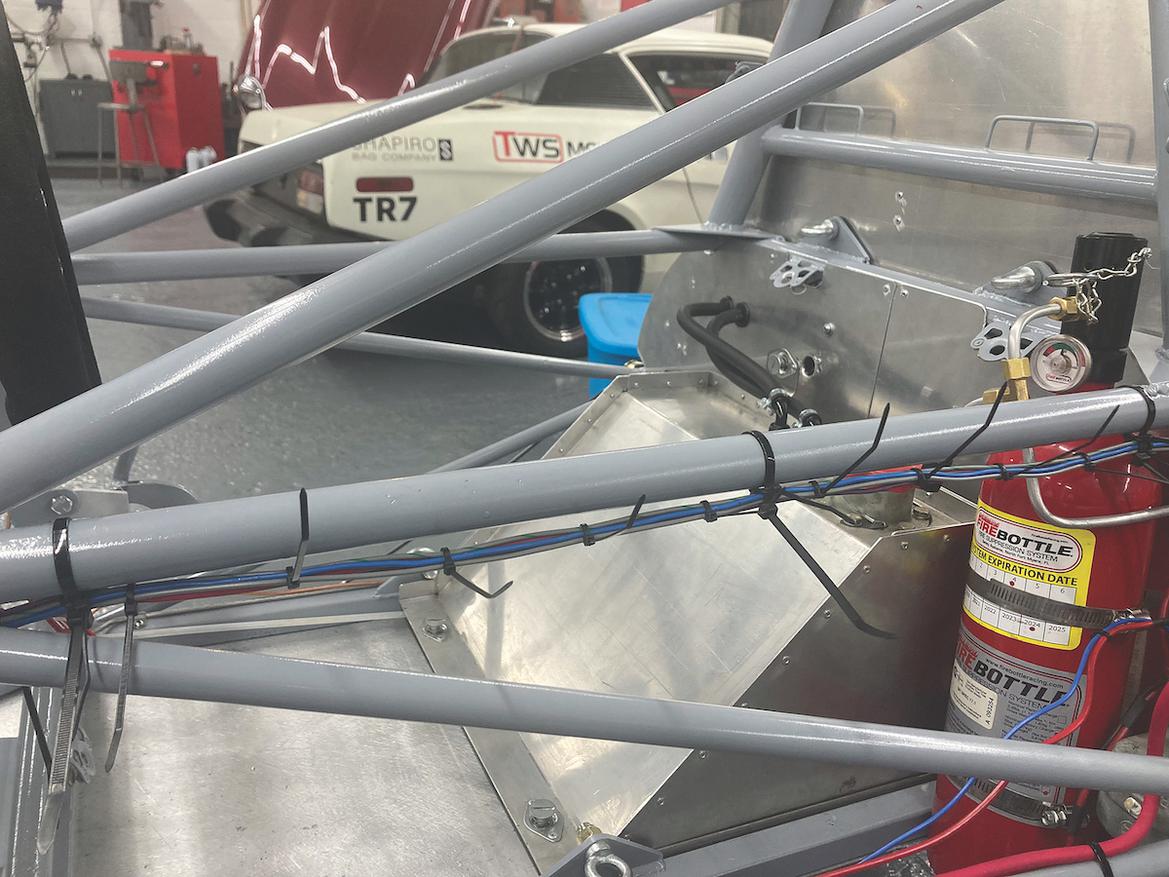
13. We kept routing and neatening parts of the harness until it was done. Then we cut off the tails of…
Click Here to Read the Full Original Article at Grassroots Motorsports Online Articles…