Rust, it’s the last thing you want to deal with when restoring a vehicle. The thing about rust is that if you don’t remove all of it, there’s a good chance it will come back. In this video, Make It Kustom shows us how we can attack a simple rust repair job at home.
Now, before you pull out the Sawzall and start cutting your ride up, you need to assess the level of rust damage to be sure you’re comfortable with the repair job. After your assessment of the situation, you’ll need to make sure you have the right tools for the job. At a bare minimum you’ll need a Mig welder, some metal shaping hammers, and some other basic tools that host Karl Fisher covers.
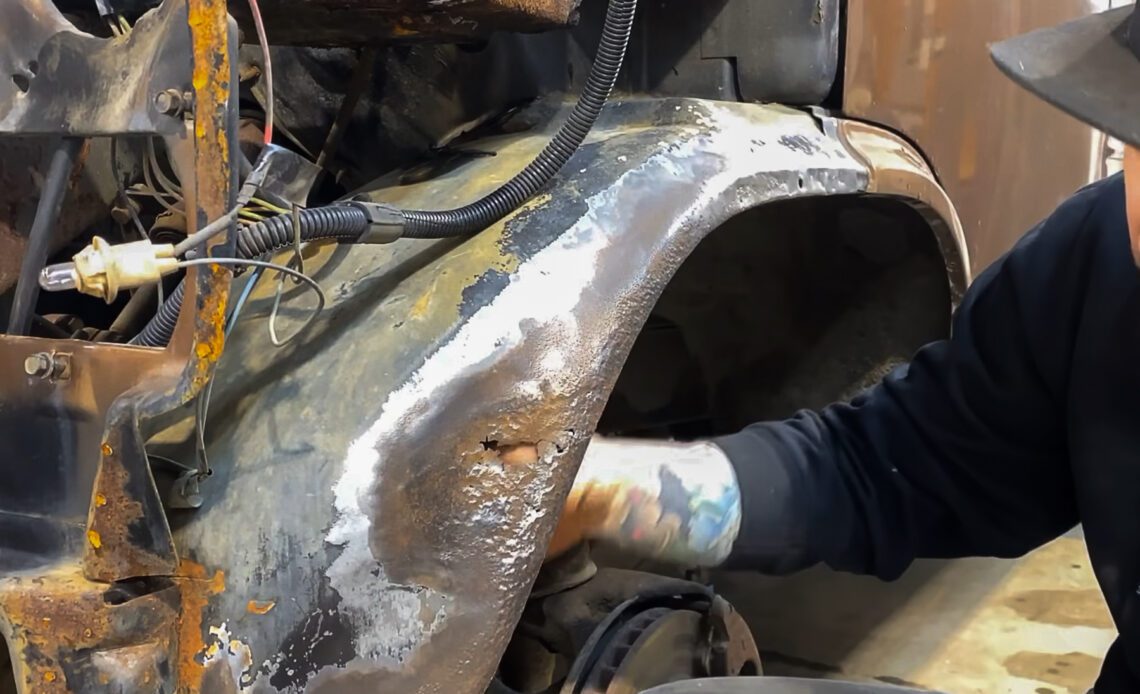
Just like any other surgery, a sterile environment is critical to ensure a successful outcome. You need to clear out any surface rust before you can begin working with the metal, that way you can see how big your patch needs to be. The goal is to keep the patch as small as possible, that way it minimizes the amount of metal work you need to do.
You can use tape to determine the shape of the patch panel that you’ll need to create for your repair. This is a simple way to get the general overall shape and outline any curves or bends you’ll need to make. Once you have your patch panel template created, it’s time to cut it out of the appropriate material and start working the metal. Finally, you need to test fit your work, make adjustments as needed, then secure the patch panel into place.
You’ll want to watch the entire video from Make It Kustom to catch all the tips and tricks for home rust repair. Fisher really goes into great detail and breaks down what you need to know for this type of project.
Click Here to Read the Full Original Article at DragzineDragzine…