It’s going to happen sooner or later.
Something in your engine will break, wear out or require an upgrade, forcing you to—gulp—pull a cylinder head. This job can be quite overwhelming and complex, especially if you’re working with an overhead-cam engine, but it’s much less intimidating when you break it down into steps.
One of the cars in our fleet, a 1988 Alfa Romeo Graduate, recently needed some headwork. Had this been a Miata, Honda or other modern DOHC engine, we’d have gone about the repair the same way.
Afraid to face the mysteries lurking behind that valve cover? Don’t worry. Just follow these steps, and we’ll leave the night light on for you.
Step 1
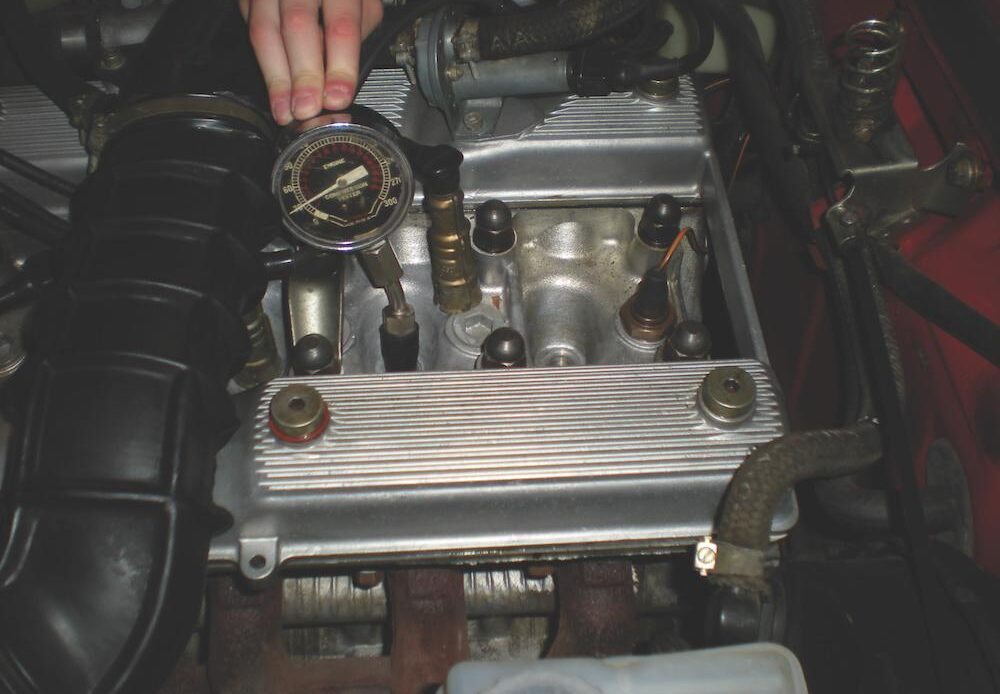
We knew our engine was down on power and suspected the culprit lay in the head. We wanted to diagnose the problem before tearing things apart, so we started with a traditional compression test.
Three of the cylinders were at about 150 psi, but No. 3’s reading of 30 psi indicated trouble. Because only one cylinder was down on compression, we suspected a burned valve.
If two adjacent cylinders had been similarly low on compression, we’d have suspected a blown head gasket between them. Another common issue with blown gaskets is coolant leaking into the combustion chambers; that one’s better diagnosed with a leak-down test.
Step 2
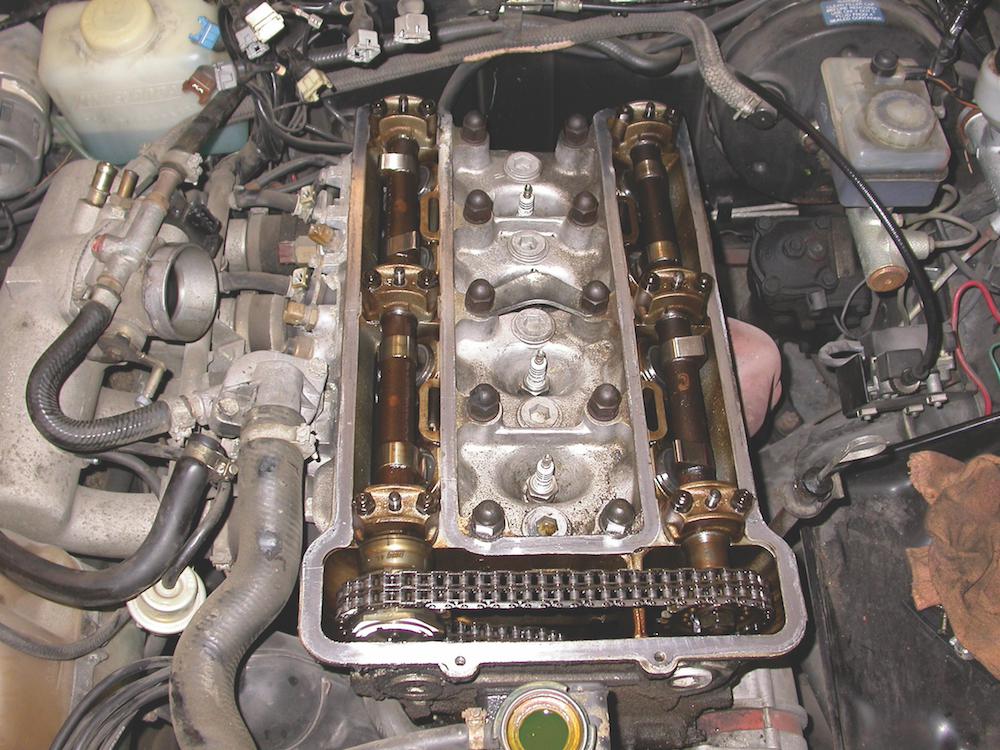
We started disassembly by pulling the plug wires, air intake tubing, valve cover and nearby sundries. That complex array of hoses and connections can be a pretty daunting sight, especially when you’re also worried about properly timing the cams.
Our approach is pretty straightforward. We…
Click Here to Read the Full Original Article at Grassroots Motorsports Online Articles…